Follow this link to view my final project sketches
Gitlab
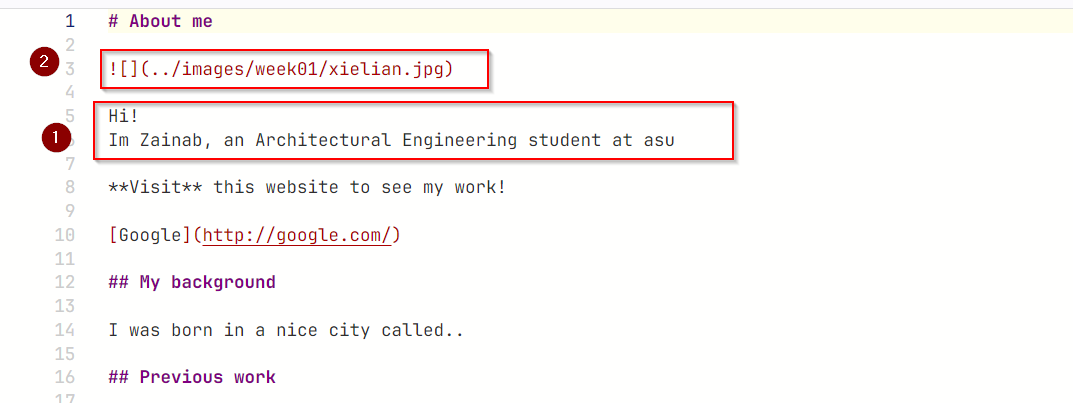
The initial phases and the start of the week included getting Comfortable with the documentation process, specifically in in the gitlab websit itself, but editing single files, importing images into the folders and editing there
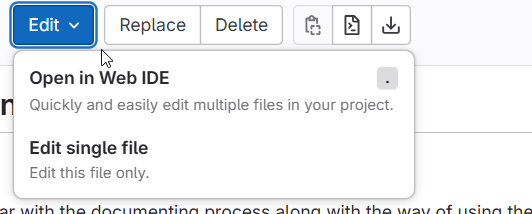
This template specifically uses markdown language, any changes made to the document directly using this option will create changes to thesite directly, however in web ide and visual studio you have to push and pull commits
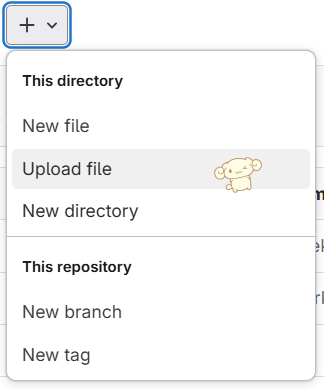
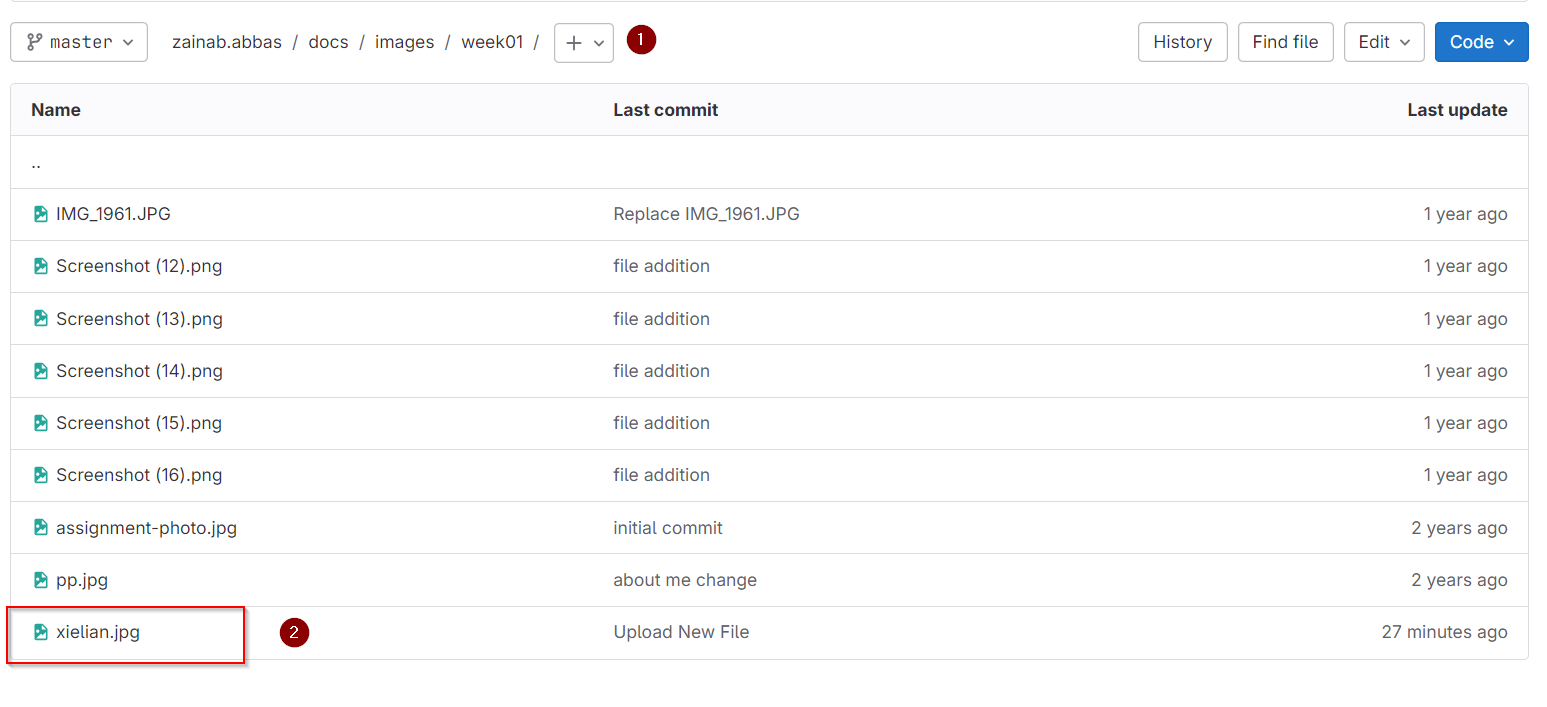
To upload images in gitlab I went to the file location of the images directly and uploaded them.
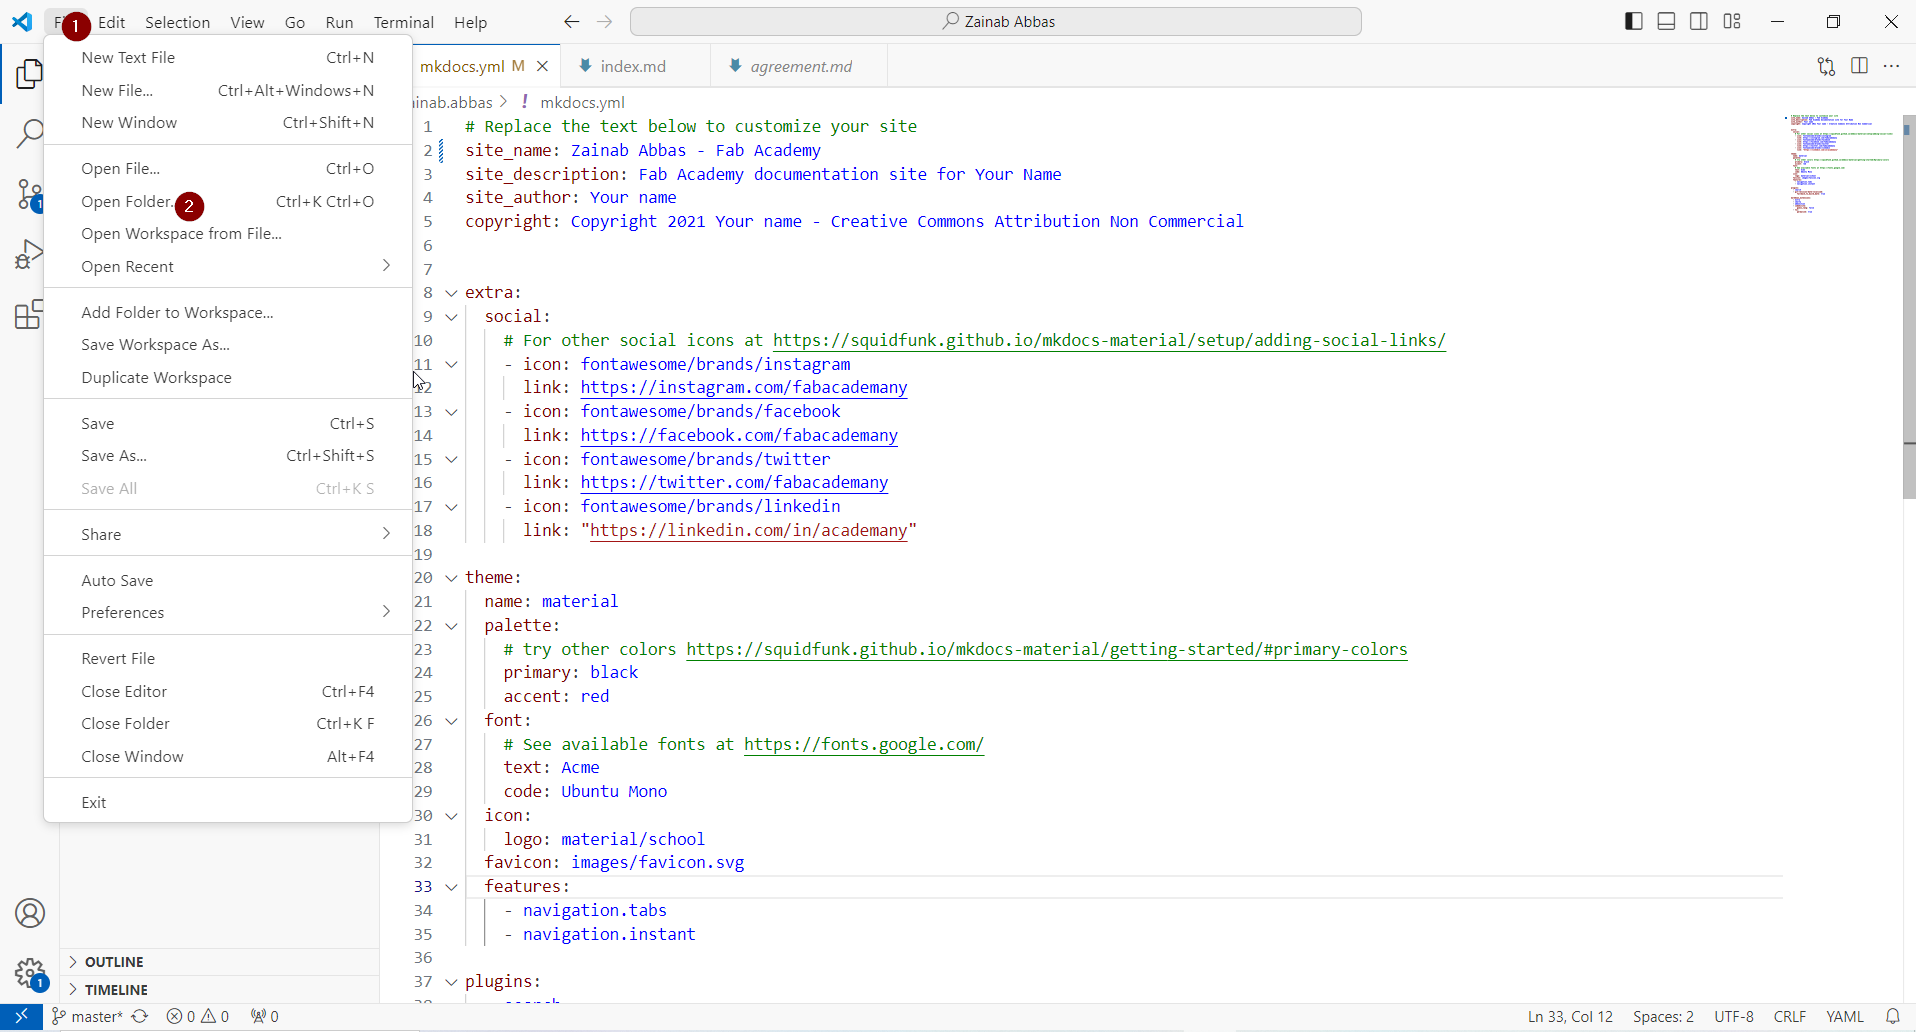
Cloning the code in visual Basic
In order to make changes offline without affecting the actual website, we cloned the code into visual basic,However in order to make changes on to the site, any changes done to the code has to be pushed and commited.
I went to my Fab Academy GitLab repository, copied the SSH/HTTPS link, and opened my terminal. Then, I navigated to the folder where I wanted to store my project and ran:git clone [repository_url]
This creates a local copy of website
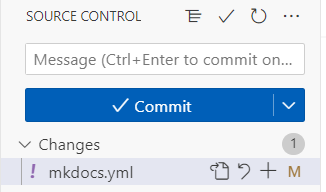
After opeing the code folder and and making the changes, the change is then commited pushing it, preferebly with a comment to keep track of your commits.
Moving to HTML
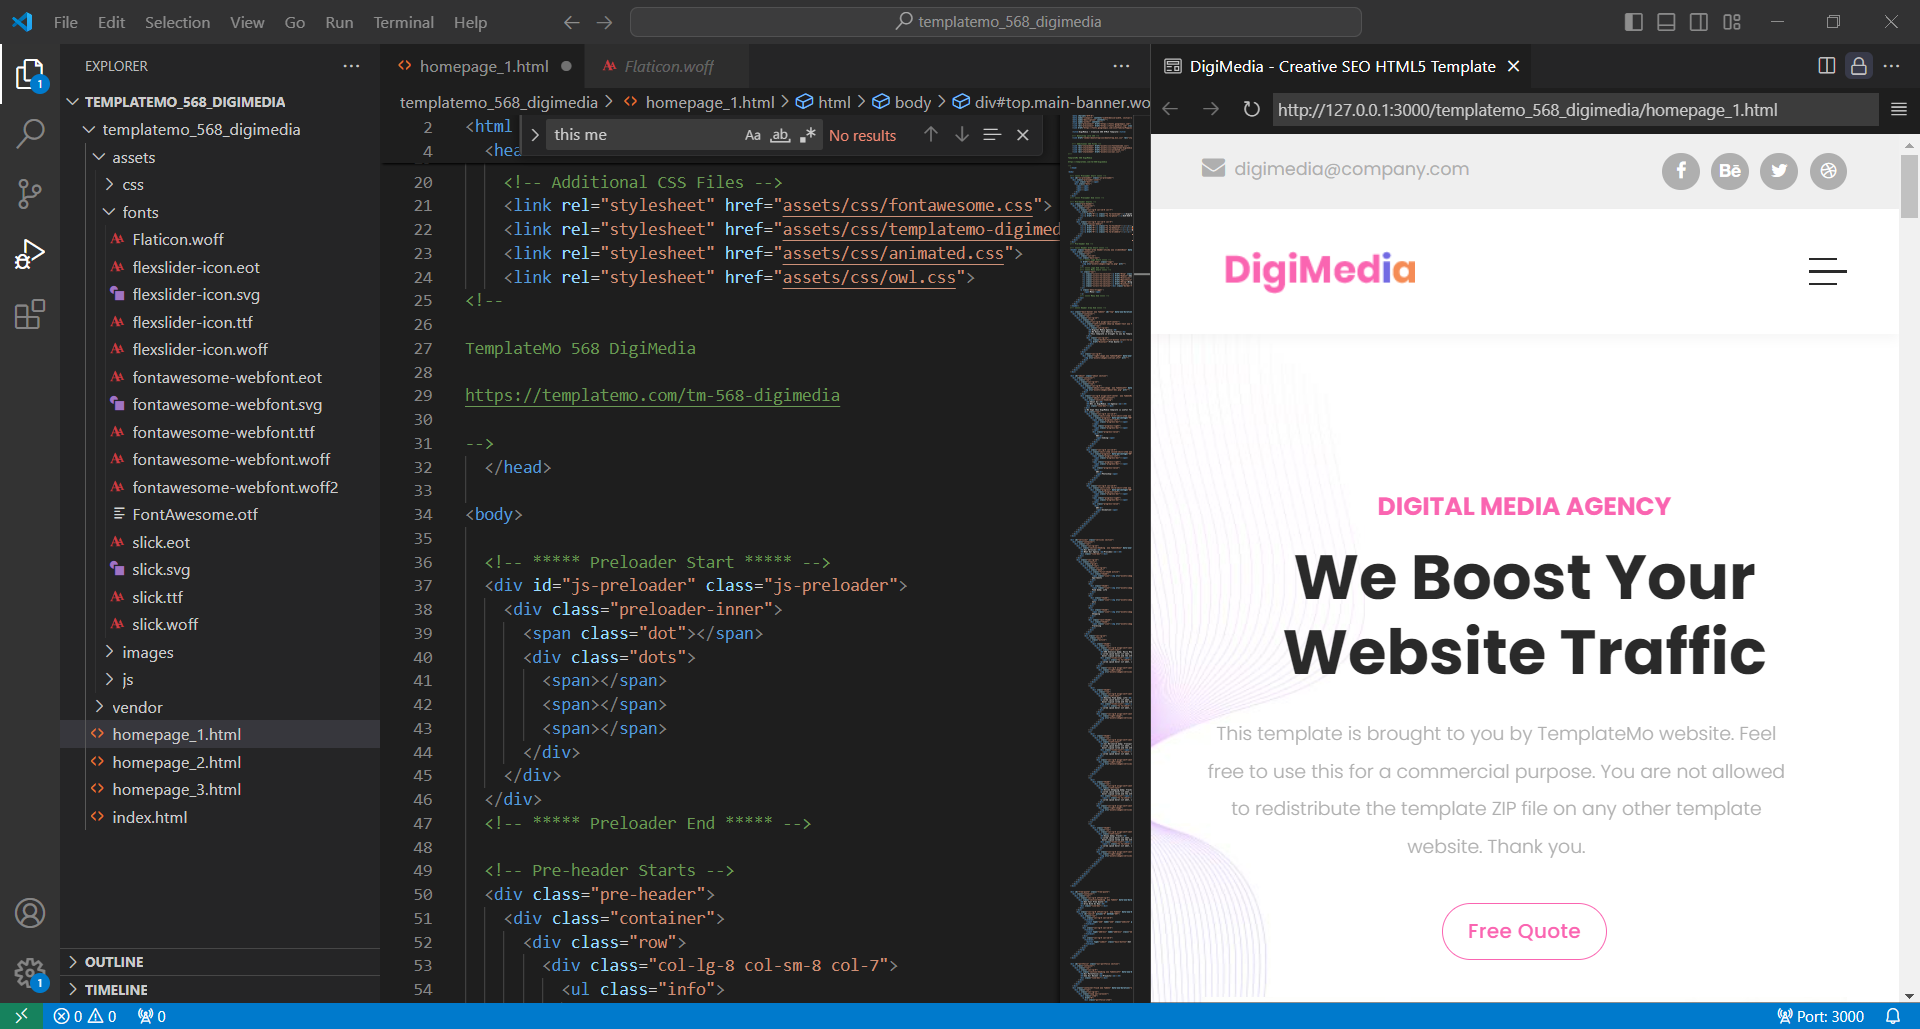
Moving to HTML makes it easier to manage the layout, design and the formatting of the documentation, I downloaded a free template online and imported it into visual studio, along with the extension live preview in order to edit and make changes offline, changes were made to the html code, along with the css code
I made changes to this template and added my images to the assets file and then moved it to gitlab
After moving I edited the template by fixing the header and the css code in the header, in order to link all of the weeks, I created files with the same 'template' of the page, ie the header and footer stays the exact same, even the sidebar, but the body is different.
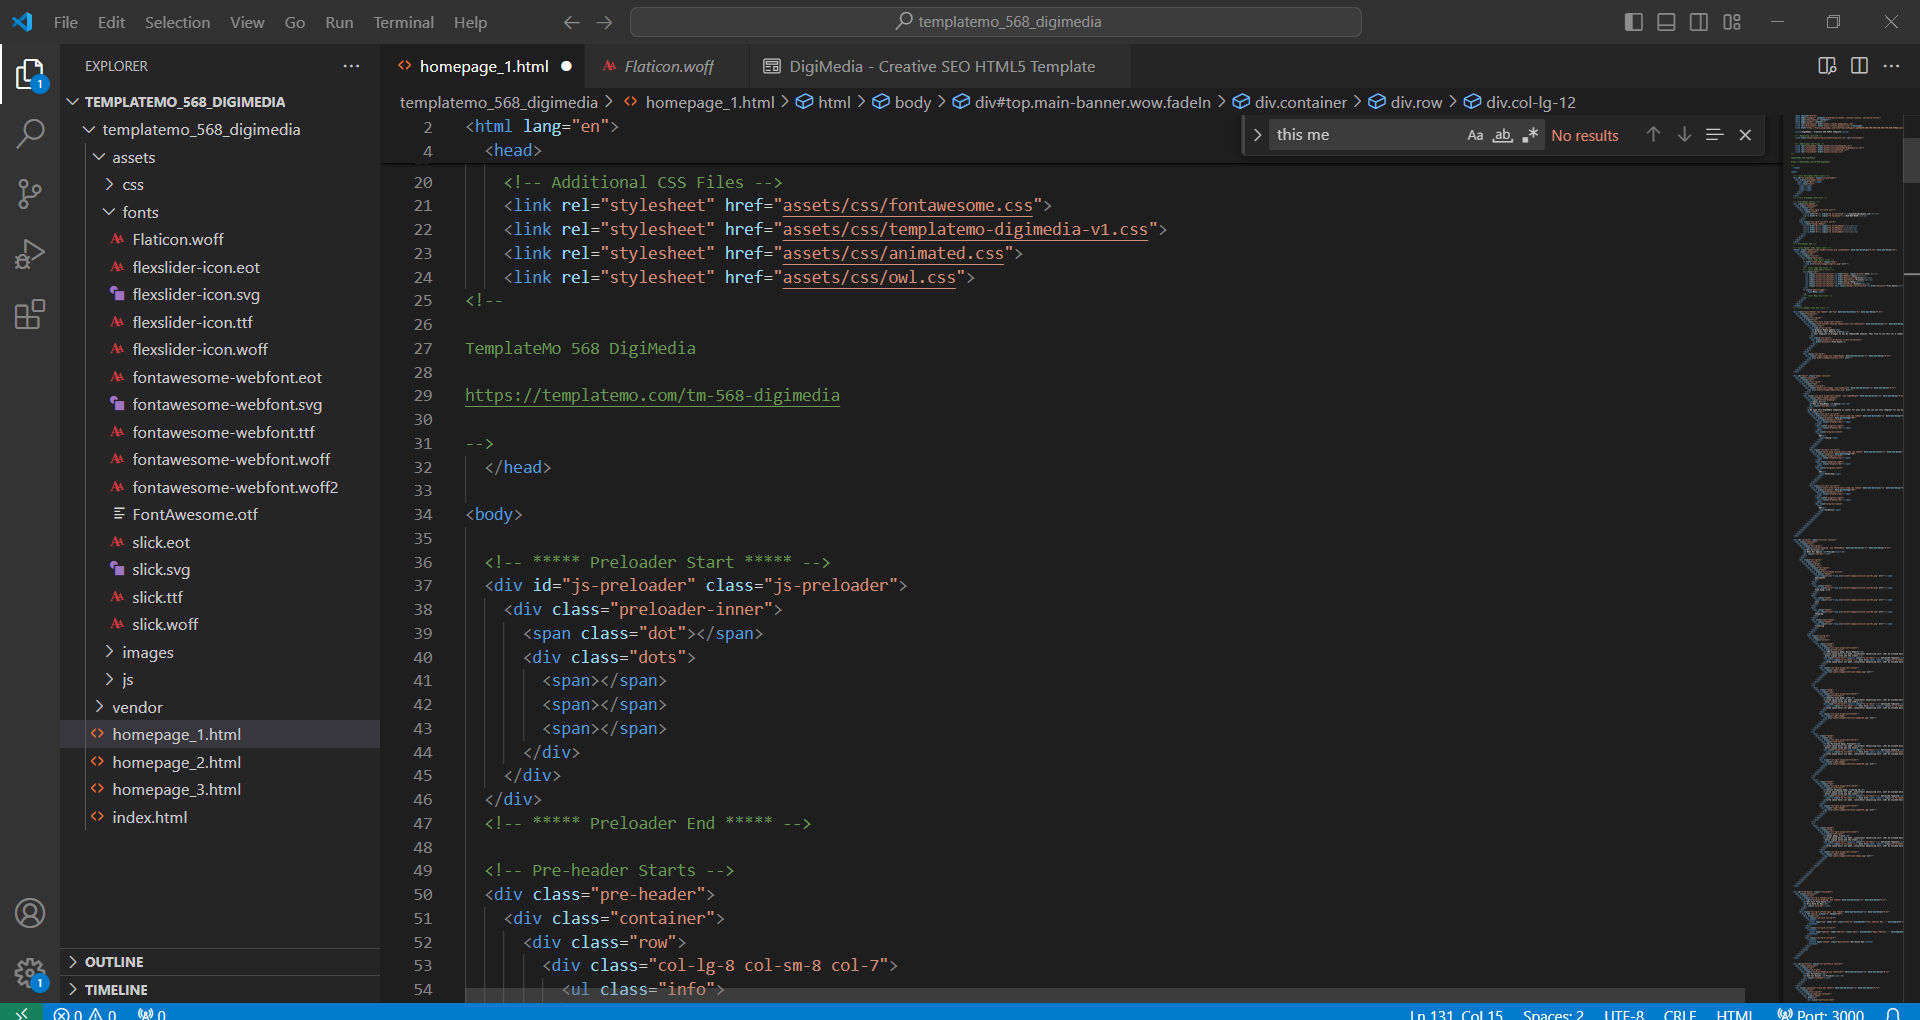
I use a previewer plugin in order to view the changes as i make them beofre pushing, the list of changes I made were
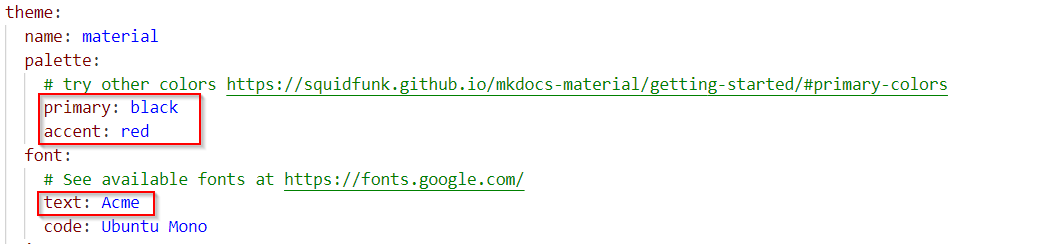
ೃ⁀➷Changing the color pallet
ೃ⁀➷Changing the header of the template
ೃ⁀➷Linking the pages to the header and carrousel
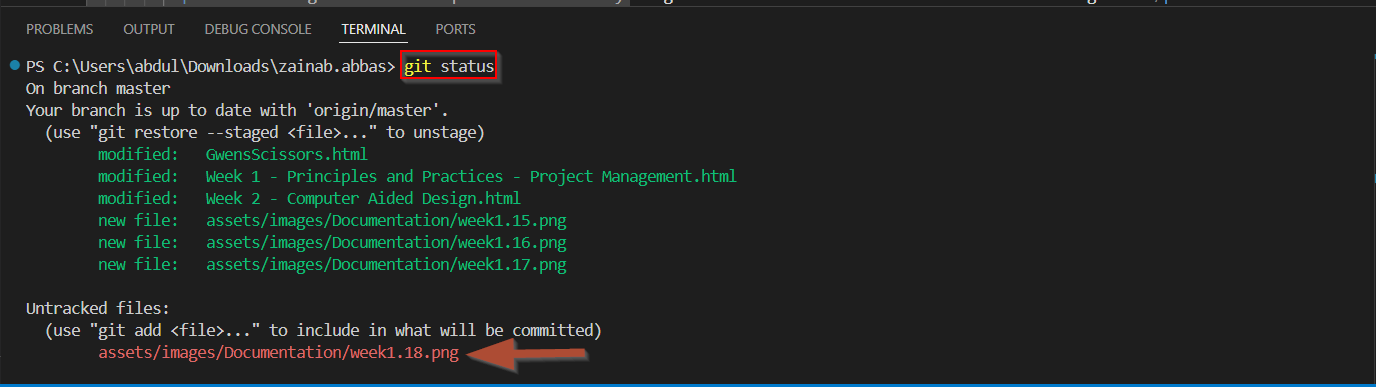
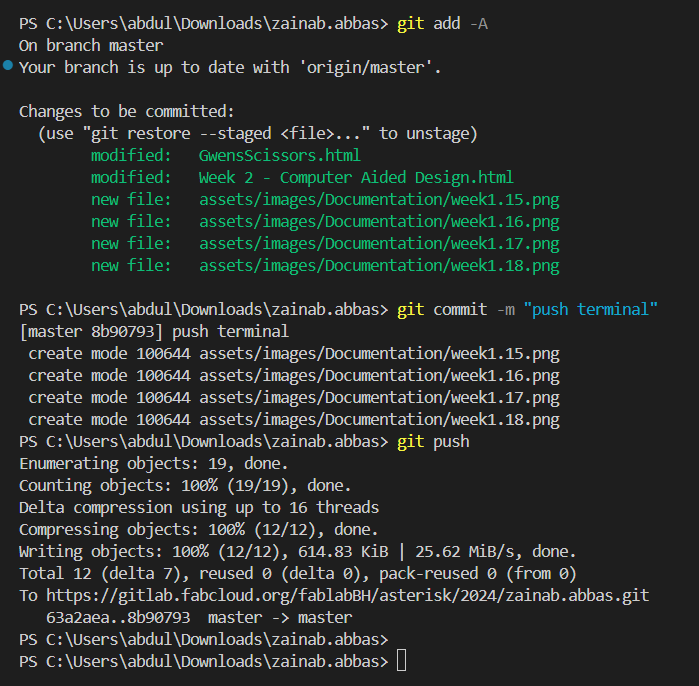
Terminal
You can push and pull commits and make any sort of command using the terminal. First, you run git status, which shows that your branch is up to date with origin/master. It also lists the modified files (in green) and new untracked files (in red), meaning they haven’t been added to Git yet. Next, you use git add -A. The -A flag tells Git to stage all changes, including new, modified, and deleted files. After running this, if you check git status again, you’ll see that all changes are now staged and ready for commit.
Then, you commit everything with git commit -m "push terminal". The -m flag lets you add a message describing your changes. Git processes the commit and confirms the newly added files. Finally, you push the changes with git push. This sends all committed updates to your remote repository. The output shows that Git compresses and uploads the files successfully, confirming that your changes are now live on GitLab.